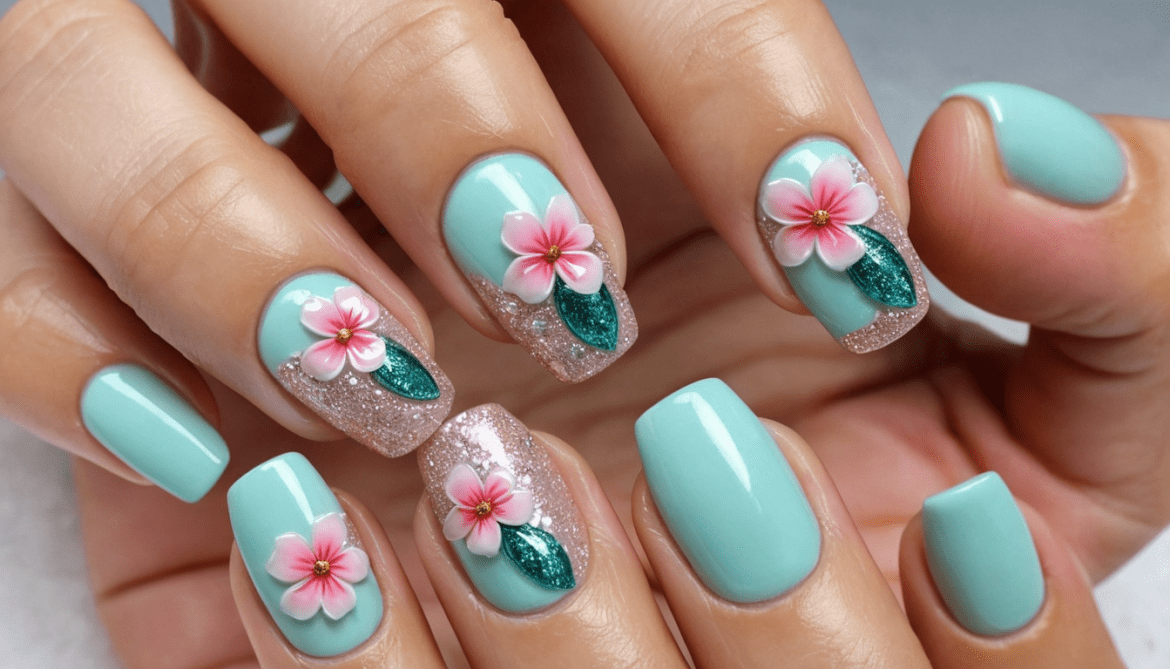
This Lucky in Love Nail Art Will Make You Fall Head Over Heels—You Won’t Believe How Easy It Is!
Ever fallen head over heels… for nail art?
If you think your nails can’t make a statement about love, think again! With the Lucky in Love nail art design, your manicure will say everything your heart feels—without you saying a word.
What’s Lucky in Love Nail Art All About?
Have you ever looked at your nails and thought, “Why can’t they look as romantic as I feel?” Well, that’s where Lucky in Love comes in. This enchanting nail design combines timeless hearts, soft pink hues, and a touch of golden sparkle, making it perfect for date nights, Valentine’s Day, or just because.
So, whether you’re planning a romantic dinner or just scrolling through Instagram for compliments, this design is your ticket to a stunning, love-filled look.
Why Choose Lucky in Love?
Here’s why you’ll absolutely adore it:
It’s a conversation starter – People will ask where you got them done!
Perfect for any occasion – Romantic but not over-the-top.
Beginner-friendly techniques – Even first-timers can nail this (pun intended).
Trendy yet timeless – Hearts are always in style.
Tools You’ll Need to Feel the Love
Here’s your quick checklist before diving in:
Base coat (for a smooth canvas)
Soft pink or nude polish (for that romantic vibe)
Red and gold polish (to create accents)
Dotting tool (or a toothpick for the hearts)
Clear top coat (for lasting shine)
Optional: Tiny rhinestones for extra sparkle
Step-by-Step: How to Create the Design
Ready to turn your nails into a canvas of romance? Follow these easy, foolproof steps to achieve the perfect Lucky in Love look.
1. Prep Your Nails
Think of this as setting the stage for romance. Start by filing your nails into your preferred shape (almond works beautifully for this look) and applying a base coat.
Pro Tip: Buff your nails gently to prevent polish from peeling.
2. Apply the Base Color
Paint your nails with a soft pink or nude polish. This shade is your neutral backdrop, allowing the accents to pop.
3. Create the Heart Accents
Here’s where the magic happens!
Using a dotting tool or toothpick, make two dots close together with red polish.
Drag each dot downward into a point to form a heart.
Repeat on each nail or just feature one or two hearts for a minimalist look.
4. Add Golden Touches
Use the gold polish to outline your hearts or add tiny dots around them for a whimsical sparkle.
5. Seal the Design
Finish with a clear top coat to lock in your design and add a salon-like shine.
Nail Art Hacks You’ll Love
Want to make your manicure last longer and look flawless? These pro-approved tips will have you nailing the design like a total expert.
Smudge-free trick: Dip your tool in a tiny bit of acetone before starting—it helps polish glide smoothly.
Quick dry: Use a fast-drying spray to avoid smudging your hard work.
Make it last: Reapply your top coat every few days to extend wear.
A Love Story on Your Nails
When I tried Lucky in Love for the first time, I was skeptical about my shaky hands. But guess what? Those tiny hearts turned out to be easier than expected. And let me tell you—the compliments didn’t stop! My friends thought I’d been to a pro, and my date couldn’t stop admiring them.
Why This Design is Trending Now
It’s no surprise that Lucky in Love is popping up everywhere—celebs and influencers alike are embracing romantic, minimalist nail art. Combine that with the year-round appeal of hearts, and you’ve got yourself a timeless trend.
Bust These Myths About Nail Art
Think nail art is too complicated or only for pros? Let’s set the record straight and show you why anyone can master this!
“It’s too hard!” Nope, with a little practice, even beginners can master this design.
“It’s only for Valentine’s Day.” Love is always in season, darling.
Ready to Fall Head Over Heels?
What are you waiting for? Grab your tools, set the mood with your favorite playlist, and create your own Lucky in Love masterpiece.
What’s your favorite nail art design? Let us know in the comments below!
