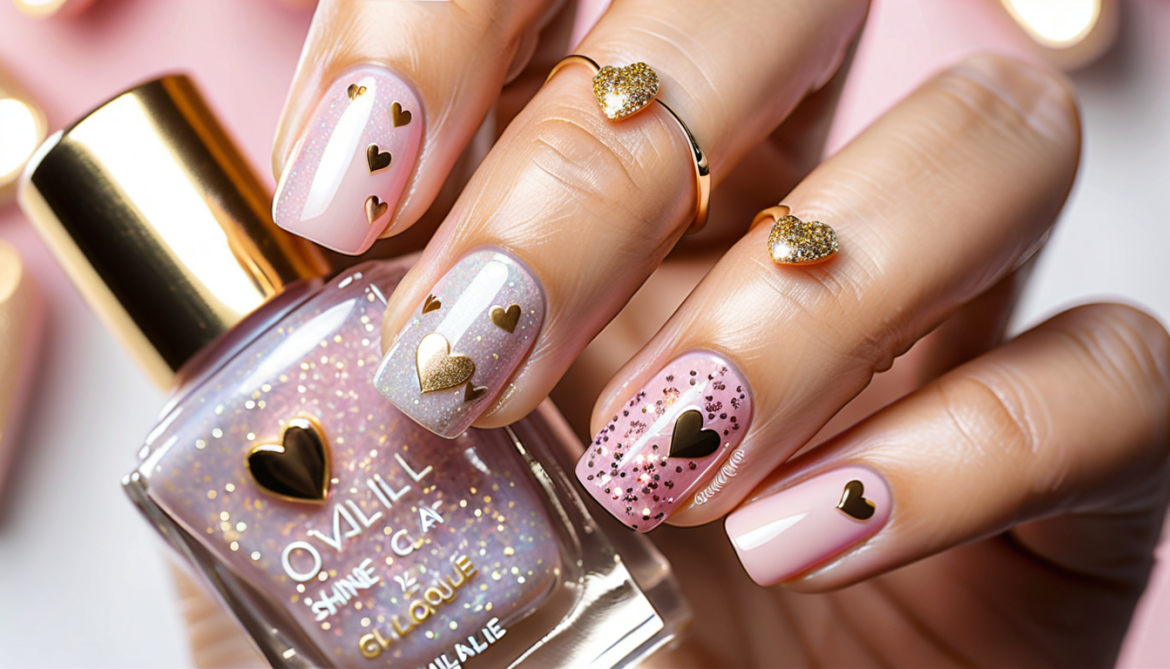
You Won’t Believe How Easy It Is to Create Sparkling Heart Nails!
If you thought you’d seen it all when it comes to nail art, think again! The Sparkling Heart Design is about to steal the spotlight, and trust me, your nails will thank you for it. Think sparkles, hearts, and the perfect pop of glamour—what’s not to love?
So, have you ever wondered how to create a nail design that’s both trendy and romantic? Whether you’re prepping for a date, celebrating Galentine’s, or just want to show off your love for sparkles, this design is here to elevate your nail game. It’s the perfect blend of fun and elegance.
What You’ll Need to Nail the Sparkling Heart Design
Before you get started, here’s your checklist of essentials:
Base Coat – To protect your nails.
Heart Shaped Stencils – Trust me, they’ll make this process way easier!
Glitter Polish – Go for a fine, silver or gold glitter for that extra sparkle.
Nail Art Brushes – For those crisp heart outlines.
Top Coat – To seal the deal and keep your design looking fresh.
A Steady Hand – This one’s optional but helps!
The Magic of Sparkles: Why Choose the Sparkling Heart Design?
We’re all drawn to glitter, right? It’s like magic in a bottle. Add a heart to the mix, and you’ve got an ultra-romantic, yet playful design that screams fun and festive. Whether it’s a special occasion or a casual Monday, this design can fit the bill—and it’s a total head-turner.
I remember the first time I tried this design. I thought, “How hard can it be to paint a heart?” Let me tell you—this isn’t just about drawing a shape. It’s about creating a work of art with dimension and flair. That sparkle? It makes all the difference.
5 Easy Steps to Create the Sparkling Heart Nail Art
Let’s break it down. Follow these steps, and you’ll have dazzling nails that everyone will admire.
1. Start with a Solid Base
The key to great nail art starts with a good base. Apply your base coat and let it dry fully before proceeding. It’s like setting a good foundation in a relationship—everything else builds on top of it!
Tip: Don’t skip this step. A strong base helps prevent stains and extends the life of your design.
2. Apply a Neutral Color Base
Next, paint your nails with a neutral color like a soft pink, pale nude, or a clear polish. This acts as a backdrop for your sparkling heart. You want the heart to stand out, so a simple, clean base will work wonders.
Pro Tip: Let the base color dry completely to avoid smudges when you stencil the heart!
3. Stencil the Heart Shape
Here’s where the fun begins! Use a heart-shaped stencil to mark out the design. You can go for a classic full heart or try something unique like a half-heart or an outline of a heart. Apply your glitter polish over the stencil and carefully remove it to reveal your heart!
Pro Tip: If you don’t have a stencil, you can use painter’s tape to create the shape, but stencils give a cleaner result.
4. Add the Sparkle
Now it’s time to get your sparkle on! Apply a fine glitter polish over your heart shape to give it that extra pop. You want your heart to shine, so layer the glitter until it’s bold enough to catch the light.
Hack: Use a makeup sponge to gently press the glitter into the nail for an even, flawless finish.
5. Seal with a Top Coat
Finish off your masterpiece by applying a clear top coat. Not only will this lock in your design, but it’ll also give your nails a glossy, salon-worthy finish.
Final Tip: Don’t rush this step. Give your nails a few minutes to dry completely to prevent any smudges.
Fun Fact: Heart Nail Art Is More Popular Than Ever
You’ve probably seen celebrities and influencers rocking heart designs on their nails, right? From soft, pastel hearts to bold, metallic sparkles, everyone’s jumping on this trend. Fun fact: heart-shaped nail art has been gaining serious traction, especially around Valentine’s Day, but it’s a design you can rock all year long!
Myths About Sparkling Heart Nails—Busted!
Think creating the perfect sparkling heart design is complicated or messy? Think again! We’re here to bust the myths and show you just how easy and fun it can be.
Myth 1: “It’s too hard to make hearts look neat.”
Truth: It’s actually way easier than you think with a stencil. Even if you’re a beginner, this design is totally doable.
Myth 2: “Glitter will make everything messy.”
Truth: If you apply it carefully (and use a sponge for a more even application), you’ll have perfect, sparkling hearts that stay in place.
Should You Try It? Absolutely!
If you’re looking to add a bit of romance and sparkle to your life (and nails), the Sparkling Heart Design is a must-try. It’s simple, it’s sweet, and it’s sure to catch eyes wherever you go. Plus, it’s totally customizable—mix and match different glitter shades or go for a bold matte base. The possibilities are endless!
Your Turn—Ready to Get Sparkling?
So, what do you think? Are you ready to rock these sparkling heart nails? Don’t wait for a special occasion—make your everyday manicure the statement look. Let us know how your design turns out, and feel free to share your own tips and tricks!
What’s your go-to nail design?
