Earth Day Stained Glass Planet
Celebrate Earth Day with a Dazzling Stained Glass Earth Craft!
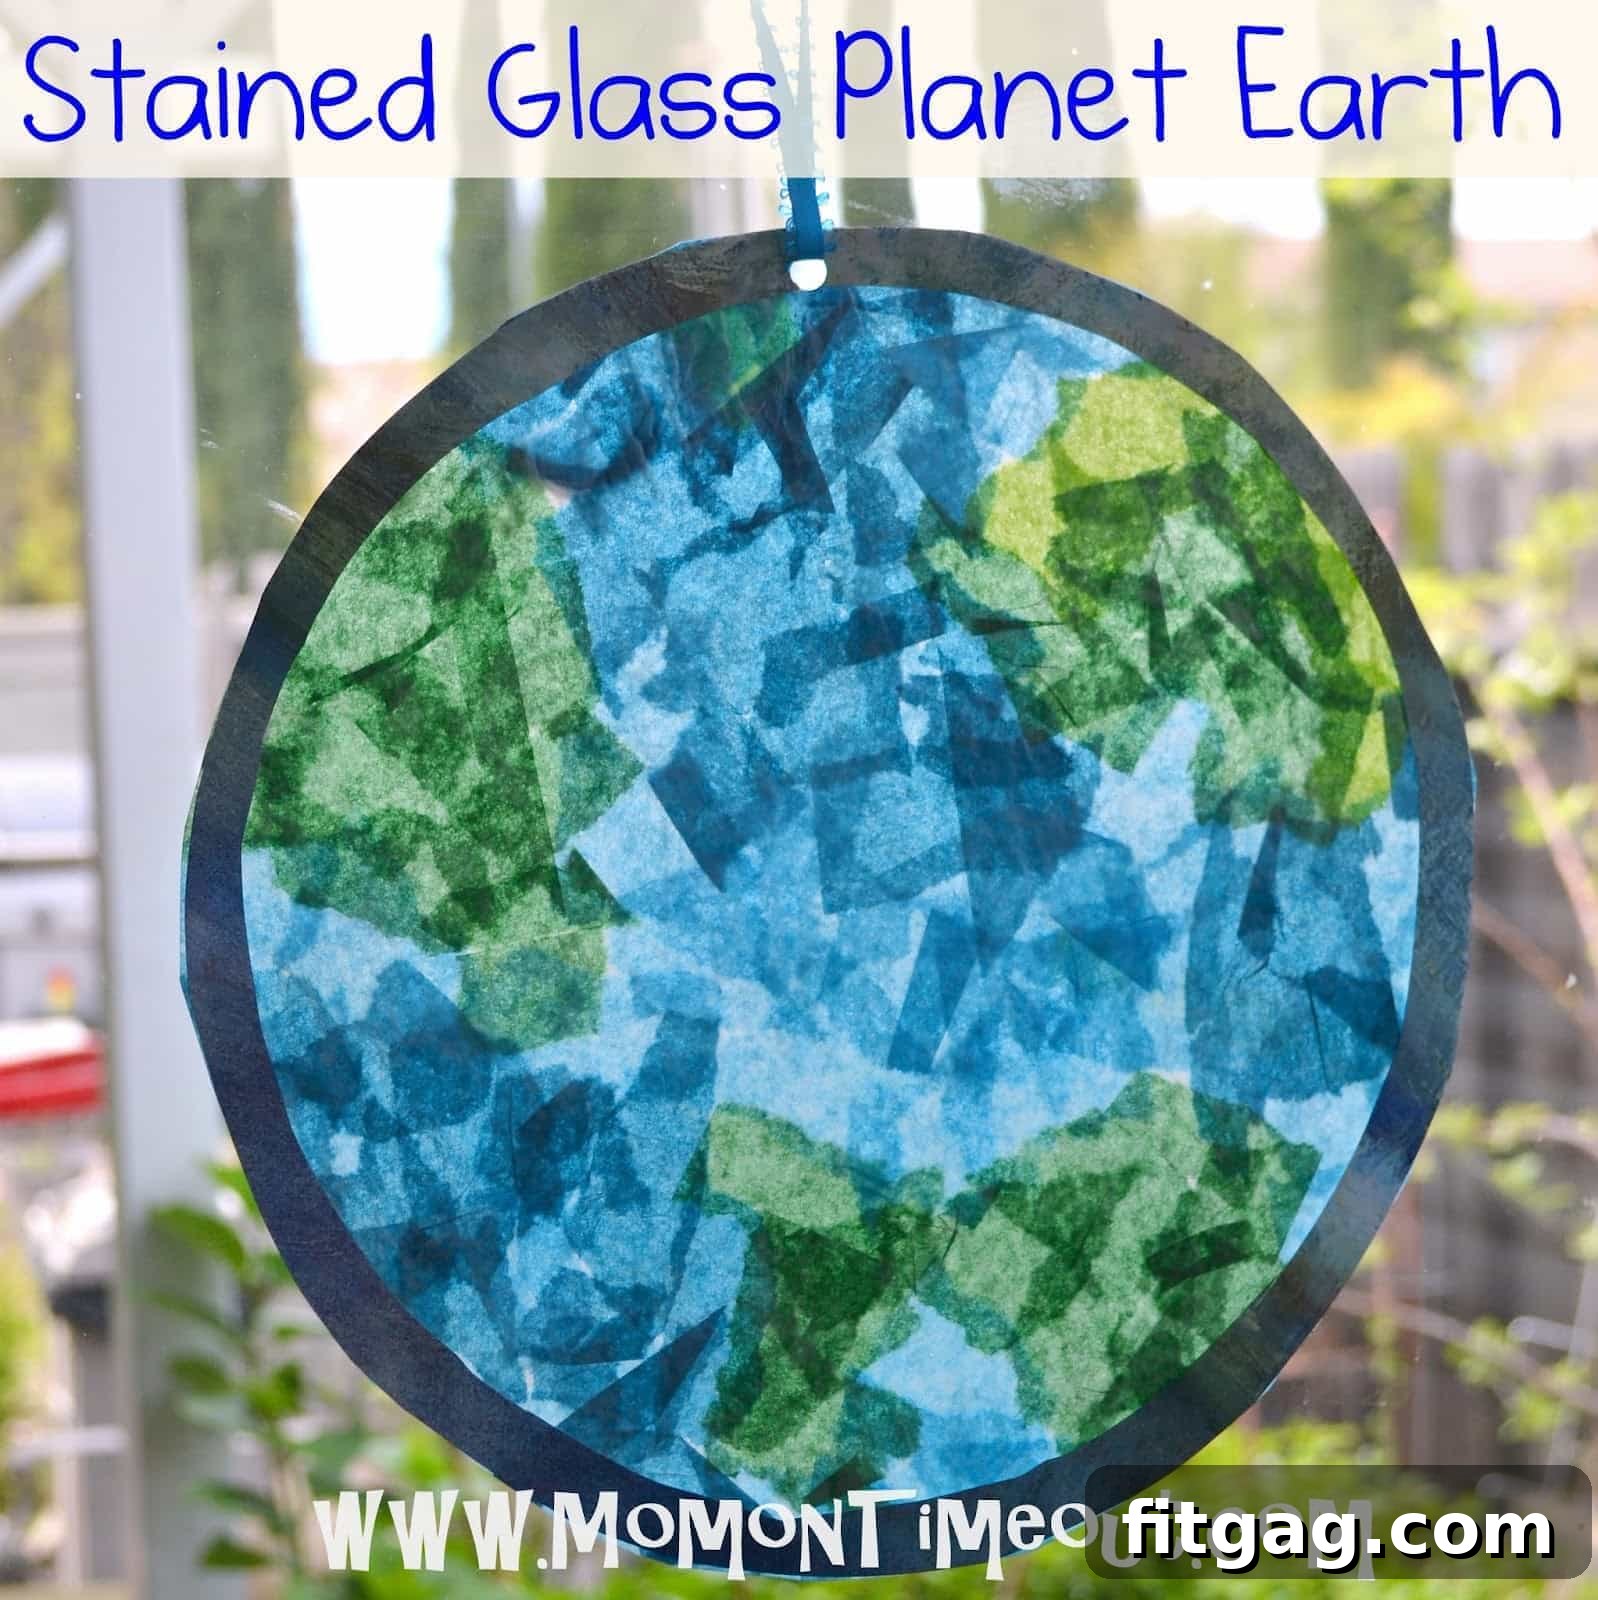
Earth Day is a wonderful opportunity to instill a love and appreciation for our magnificent planet in the hearts of our children. As parents and educators, we constantly seek creative and engaging ways to teach environmental awareness, and what better way than through a hands-on craft? This delightful Stained Glass Earth craft is not just an art project; it’s a vibrant, interactive lesson in geography and conservation, perfect for kids of all ages. Imagine their pride as they create their very own miniature Planet Earth, a beautiful reminder of our world’s delicate beauty. Forget about perfectly shaped continents; the joy is in the process and the learning! If you’ve loved our previous stained glass creations (like our Stained Glass Cross or Fall Leaves project), you’ll adore this one. All you need are a few simple, affordable materials: vibrant green and blue tissue paper, wax paper, and glue. The best part? This craft is entirely customizable in size, allowing for small ornaments or large window displays!
Why This Earth Day Craft is a Must-Do Activity
Engaging children in creative activities, especially those with an educational twist, offers a multitude of benefits. This Stained Glass Earth DIY project is more than just a fun way to pass the time; it’s a powerful tool for learning and development.
Firstly, it fosters a deeper connection to nature and our environment. As children meticulously piece together the blue oceans and green landmasses, they naturally start thinking about what these colors represent. This can spark conversations about the importance of our planet, the diverse ecosystems, and why we need to protect them. It’s a gentle introduction to environmental stewardship, encouraging them to become little guardians of the Earth.
Secondly, this craft is excellent for developing essential fine motor skills. Tearing the tissue paper into small pieces, spreading glue evenly, and carefully arranging the colors all require precision and coordination. These activities help strengthen small hand muscles, improve hand-eye coordination, and lay the groundwork for skills needed in writing and other daily tasks. The tearing motion itself is incredibly therapeutic and satisfying for young crafters.
Thirdly, it’s a fantastic outlet for creativity and self-expression. While we aim to represent Earth, there’s no pressure for perfection. Each child’s interpretation will be unique, celebrating individuality and artistic freedom. The irregular shapes of the “continents” add character and charm, reminding us that nature itself is wonderfully diverse and asymmetrical.
Finally, it promotes discussion and shared experiences. Working on this craft together provides an ideal setting for quality family time. You can talk about different countries, animals that live in the oceans, or even simple ways your family can contribute to protecting the Earth. It’s a wonderful way to create lasting memories while instilling valuable lessons. Plus, it utilizes readily available and often recycled materials, making it a budget-friendly and eco-conscious choice!
Gather Your Crafting Supplies
Before diving into the creative process, ensure you have all your materials ready. The beauty of this easy Earth Day craft lies in its simplicity and accessibility.
Here’s what you’ll need:
Green Tissue Paper: Opt for a couple of different shades of green if possible to add depth and texture to your landmasses. You can even use recycled tissue paper from gift bags – a wonderful way to practice what you preach about recycling!
Blue Tissue Paper: Again, varying shades of blue will make your oceans more dynamic and visually appealing.
Wax Paper: This is the foundation of your stained glass effect. Choose a roll that allows for the desired size of your finished Earth.
Liquid Glue: A standard school glue or white craft glue works perfectly.
Construction Paper (Black or Dark Blue recommended): For creating the border of your Earth.
Scissors: For cutting the wax paper and the border.
Bowl or Plate: To use as a template for cutting perfect circles for your Earth and its border.
Pencil: For tracing the circles.
Optional: Hole punch, string, or tape for hanging.
Step-by-Step Guide: Crafting Your Stained Glass Earth
Let’s get started on this enchanting Planet Earth art project! Follow these simple steps for a successful and enjoyable crafting experience.
Step 1: Prepare Your Tissue Paper
Begin by inviting your little crafters to tear the green and blue tissue paper into small pieces. Encourage them to make the pieces as small as possible, as this will allow for a more detailed and mosaic-like effect in your finished product. This tearing action is not only fun but also a fantastic exercise for developing those crucial fine motor skills. As mentioned, I love to repurpose materials, so I often use tissue paper saved from gift bags – it’s a wonderful way to teach children about recycling and giving materials a second life. Providing two distinct shades of both green and blue will add beautiful depth and variation to your “land” and “sea.”
Step 2: Prepare the Wax Paper Foundation
Tear off a piece of wax paper that is double the size you envision for your final Earth craft. For instance, if you want a finished Earth of 8 inches in diameter, you’ll want a piece of wax paper that is at least 16 inches wide to accommodate the fold. Lay the wax paper flat and spread a thin, even layer of liquid glue over one half of the wax paper. You don’t need an excessive amount of glue; a nice, thin application will ensure the tissue paper adheres well without creating too much moisture or wrinkling. This half will serve as the sticky base for your creative world-building.
Step 3: Begin Creating Your Earth
Now comes the exciting part: assembling your Earth! Before the boys started, I showed them a simple image of Planet Earth from space. This visual reference helped them grasp the general concept of blue oceans surrounding green landmasses. While I certainly didn’t expect a perfect geographical replica (and neither should you!), this guidance helped them conceptualize their design. Encourage them to primarily use blue tissue paper for the vast oceans and green for the continents. Let their creativity flow! The beauty of this craft is in its organic, artistic representation.
Step 4: Secure Your Design
Once your child is happy with their arrangement of tissue paper pieces, spread another thin layer of glue on the remaining dry half of the wax paper. Carefully fold this glued side over the top of the arranged tissue paper pieces, aligning the edges as best as possible. Gently smooth out the surface with your hands, pressing down firmly but carefully to remove any air bubbles and ensure all the tissue paper pieces are securely sealed between the two layers of wax paper. This creates the “stained glass” effect. Set it aside and allow it to dry completely. Patience here will pay off with a crisp, clear finish.
Step 5: Create Earth’s Border
While your stained glass masterpiece is drying, prepare the border. Grab a piece of construction paper (black or a dark blue works beautifully to frame the vibrant colors). Using a bowl, plate, or any circular object you have handy, trace and cut out a large circle. This will be the outer edge of your Earth. Then, using a slightly smaller circular object, trace an inner circle within the first one. Carefully cut out this inner circle, leaving you with a thin, circular border. This border will give your Earth a polished, finished look, much like a globe.
Step 6: Attach the Border to Your Stained Glass Earth
Once your wax paper and tissue paper creation is fully dry, it’s time to add the final touch. Apply a thin, even line of glue all around one side of your paper border. Carefully center the border over your stained glass design and gently press it down, ensuring it adheres well. If your stained glass piece isn’t perfectly circular, don’t worry; you’ll trim it in the next step. This border not only frames the artwork but also helps define the circular shape of our planet.
Step 7: Trim for a Neat Finish
With the border firmly in place, use a pair of sharp scissors to carefully trim away any excess wax paper extending beyond the border. This step is crucial for achieving a clean, professional-looking finish. Take your time and cut along the outer edge of the border. Don’t stress if it’s not absolutely perfect – remember, handmade crafts have their own unique charm! The goal is to make it look as neat and presentable as possible, ready for display.
Step 8: Display Your Beautiful Earth
Your stunning Stained Glass Earth craft is now complete! There are several wonderful ways to display your masterpiece. You can punch a small hole at the top and thread a piece of string or ribbon through it to hang it from a hook or a window sash. Alternatively, a simple piece of tape is all you need to adhere it directly to a window or a door. Place it where the sunlight can stream through, and watch as the vibrant colors of the tissue paper come alive, casting beautiful hues and creating a truly magical “stained glass” effect. It’s a gorgeous visual reminder of our planet’s beauty and the importance of Earth Day.
Tips for Enhancing Your Earth Day Craft Experience
To make this DIY Earth Day project even more special and educational, consider these additional tips:
Discuss Geography: As you place the green pieces, point out where continents are on a map or globe. Talk about different countries, climates, and animals.
Explore Ecosystems: Use different shades of green for forests versus deserts, or different blues for deep oceans versus shallow seas. This can introduce concepts of diverse ecosystems.
Add Embellishments: For older kids, consider adding small glitter specks for stars or drawing tiny outlines of animals on the finished craft.
Group Project: Make several smaller Earths and connect them with string to create a mobile or a garland for a classroom.
Sustainable Practices: Emphasize using recycled materials throughout the process. Discuss other ways to be eco-friendly, like reducing waste, conserving energy, and planting trees.
Beyond the Craft: Further Earth Day Fun!
Crafting this Stained Glass Earth is just one fantastic way to celebrate Earth Day. Our planet offers endless inspiration for learning and exploration. Encourage your children to engage with their environment through simple, impactful actions. Whether it’s picking up litter in your neighborhood, starting a small garden, or simply learning more about the natural world, every step helps foster a generation of environmentally conscious citizens. This craft serves as a beautiful starting point for many more conversations about how we can all contribute to a healthier, happier Earth.
Looking for more creative projects and Earth Day ideas? Check out these related posts:
Discover More Engaging Activities:
20 Fun Earth Facts for Earth Day
Stained Glass Rainbows Craft
Stained Glass Cross Craft
Simple Earth Day Activities for the Family
Connect with Us!
We love seeing your creations and connecting with our wonderful community! Share your Stained Glass Earth crafts with us and let us know how your family celebrates Earth Day. Find us on social media for more craft ideas, family activities, and inspiration.
Linking up at
Mom On Timeout Parties,
Home Stories A2Z,
Savvy Southern Style,
Serenity Now, and
My Repurposed Life.
The post Earth Day Stained Glass Planet first appeared on Fitgag.