Sweet Berry Indulgence
Welcome to the ultimate guide for crafting the most delectable Berry Cobbler! This effortless recipe bursts with the vibrant flavors of sweet, succulent berries, crowned with a golden, tender, and impossibly buttery biscuit topping. It’s the quintessential summer dessert, yet so comforting you’ll crave it all year long. Made with readily available ingredients, this cobbler transforms into a crowd-pleasing masterpiece when served warm with a generous scoop of creamy vanilla ice cream or a cloud of fresh homemade whipped cream. Whether you gather sun-kissed fresh berries from your garden or reach for the convenience of frozen fruit, this no-fuss cobbler promises pure berry bliss in every spoonful.
Craving more delightful summer treats and fruity baked goods? Be sure to explore our irresistible Blueberry Cobbler, a versatile Berry Crumble, and the classic Strawberry Shortcake Recipe, each designed to bring joy to your table with minimal effort.
Discover the Magic of Our Easy Berry Cobbler Recipe
There’s an undeniable charm and comforting warmth that emanates from a freshly baked, bubbling berry cobbler. This classic American dessert embodies the essence of home baking, marrying the vibrant tang of ripe berries with a soft, sweet, and perfectly golden biscuit crust. Each bite offers a delightful contrast of textures and flavors – the bursting juiciness of the fruit against the tender crumb of the topping. It’s a dessert that transcends seasons, making it a beloved choice whether you’re celebrating peak summer harvests or simply yearning for a taste of sunshine on a chilly day. This recipe is designed to be straightforward and approachable, ensuring that even novice bakers can achieve spectacular results.
Our easy berry cobbler recipe is your ticket to a quick, heartwarming dessert that’s ideal for any occasion. From casual potlucks and festive holidays to a cozy weeknight family treat, it comes together swiftly using common pantry ingredients and just a few minutes of active preparation. As it bakes, the berries transform into a rich, jammy filling, gently bubbling around the edges, while the biscuit topping achieves a beautiful crispness on the outside and a tender softness within. The aroma filling your kitchen will be pure heaven! Remember to complete this culinary experience with a generous scoop of creamy vanilla ice cream or a dollop of fluffy whipped cream – it truly elevates the dish to an unforgettable level of indulgence.
Unlock year-round enjoyment with this simple Berry Cobbler, perfectly made with frozen fruit for consistent deliciousness!
Cobbler, Crumble, or Crisp? Understanding the Delicious Differences
Fruit desserts like cobblers, crumbles, and crisps share a common foundation: a sweet and often tangy fruit filling. However, their defining characteristics lie in their unique toppings, each offering a distinct texture and flavor profile. A **cobbler**, as featured in this recipe, is distinguished by its topping of biscuit or scone-like dough. These dough dollops bake up light, fluffy, and tender, creating a comforting, cake-like layer that beautifully absorbs the fruit juices beneath.
A **crumble**, on the other hand, typically features a streusel-like topping. This classic combination of flour, sugar, and butter is “crumbled” over the fruit, resulting in a rich, buttery, and somewhat dense texture when baked. The topping might be slightly chewy and offers a delightful contrast to the soft fruit.
Finally, a **crisp** is quite similar to a crumble but with one key addition: oats. Oats are incorporated into the flour, sugar, and butter mixture, lending a wonderful nutty flavor and a truly “crispy” texture once baked. This oat-infused topping often achieves a golden-brown, crunchy finish that makes it a popular choice. While each of these desserts is undeniably amazing in its own right, the distinct biscuit topping of a cobbler provides a unique comfort food experience that many find irresistible.
Why This Easy Berry Cobbler Will Be Your New Favorite
Prepare to fall in love with the harmonious blend of sweet, tangy mixed berries and a pillowy, biscuit-like topping in this incredibly simple Berry Cobbler recipe! Its universal appeal makes it a guaranteed hit, whether you’re hosting an elegant dinner party, firing up the grill for a summer barbecue, celebrating a holiday, or simply indulging your family with a comforting homemade treat. Here’s why this recipe stands out:
Effortless Simplicity with Everyday Ingredients: Forget complicated techniques or hard-to-find components. This recipe relies on a handful of pantry staples, transforming them into a dessert that tastes far more complex than it is to make. It proves that extraordinary flavor doesn’t require extraordinary effort.
Remarkably Versatile and Seasonally Adaptable: The beauty of this cobbler lies in its flexibility. It welcomes any medley of fresh berries during peak season – think strawberries, blueberries, raspberries, and blackberries – or perfectly accommodates frozen fruit when fresh options are scarce. This means you can savor this delightful dessert consistently, regardless of the time of year.
A Symphony of Perfect Textures: The magic is in the contrast! The biscuit topping bakes to a glorious golden hue, achieving an irresistible fluffiness and tenderness. As it cooks, it subtly soaks up just the right amount of the luscious, bubbling berry goodness from underneath, creating a moist interior while maintaining a slight crisp on top. Each bite delivers a comforting blend of soft fruit and yielding crust.
Family-Friendly Appeal: This is a dessert that everyone, from the pickiest eaters to gourmet enthusiasts, will adore. Its sweet, familiar flavors evoke warmth and nostalgia, making it a perfect addition to any family meal or gathering.
Impressive Presentation: Despite its ease, a baked berry cobbler emerging from the oven with its golden topping and vibrant, bubbling fruit is a truly beautiful sight, sure to impress guests and loved ones alike.
Gather Your Ingredients: What You’ll Need
One of the most appealing aspects of this Berry Cobbler recipe is its simplicity. The vibrant berry filling comes together in mere minutes, and the tender biscuit topping is a delightful hybrid of our best biscuit recipe and light lemon blueberry scones. We’ll be using ingredients you likely already have on hand. For your convenience, here’s a detailed breakdown of what you’ll need, and remember, the full printable recipe card with exact measurements can be found at the very end of this post.
Salted Butter: We prefer salted butter for a hint of savory balance that enhances the overall flavor of the topping. If you only have unsalted butter, simply add an extra pinch of salt to the flour mixture. Ensure it’s very cold for the best biscuit texture!
Mixed Berries: This is the star of our show! Fresh berries truly shine when they’re in season during the summer months, offering peak sweetness and juiciness. However, don’t hesitate to use frozen mixed berries. They are flash-frozen at their prime, locking in optimal flavor and nutrients, making this cobbler a delicious and accessible treat any time of year. No need to thaw them beforehand!
Granulated Sugar: This provides the essential sweetness for both the luscious berry filling and the tender biscuit topping, balancing the tartness of the fruit and contributing to that beautiful golden-brown crust.
Cornstarch: A crucial thickening agent for the berry mixture. It ensures your filling achieves that perfect, slightly jammy consistency, preventing it from being too runny. All-purpose flour can be used as a substitute if cornstarch is unavailable, though cornstarch typically yields a clearer, glossier finish.
Lemon (Zest and Juice): Fresh lemon zest and juice are indispensable here! The zest adds a bright, aromatic lift, while the juice provides a touch of acidity that cuts through the sweetness and truly makes the berry flavors pop. It’s a secret ingredient for balancing the entire dish.
All-Purpose Flour: The foundation for our light and fluffy biscuit topping. For a convenient alternative, you could substitute self-rising flour and omit the baking powder and salt from the topping ingredients.
Baking Powder: This leavening agent is key to achieving that desirable rise and airy texture in the biscuit topping, making it light and tender.
Salt: A small but mighty ingredient that enhances all the sweet flavors in both the filling and the topping, bringing depth and complexity.
Heavy Cream or Milk: This moistens the biscuit dough, contributing to its richness and tender crumb. You can use heavy cream for a richer result, or substitute whole milk, buttermilk, or even half-and-half depending on what you have and your desired richness level. The fat content helps create a more tender biscuit.
Sanding Sugar (Optional): Sprinkling sanding sugar (also known as turbinado sugar or coarse sugar) over the topping before baking adds a beautiful sparkle and a delightful, subtle crunch, elevating the visual appeal and textural experience. It’s a lovely finishing touch!
Step-by-Step: How To Make This Irresistible Berry Cobbler
Get ready to create a dessert that captures the essence of homemade comfort and seasonal delight! This Mixed Berry Cobbler recipe, brimming with juicy berries and crowned with sweet, buttery golden biscuits, is an absolute showstopper. It’s perfect when paired with a scoop of vanilla ice cream and is surprisingly simple to prepare, ensuring you impress every time. Let’s walk through the easy steps.
Don’t forget: The full printable recipe, complete with detailed instructions and measurements, is available in the recipe card at the conclusion of this post.
Crafting the Perfect Cobbler Topping
The biscuit topping is what truly sets a cobbler apart. Follow these steps to ensure a tender, flavorful, and perfectly baked crust:
Combine Dry Ingredients: In a spacious mixing bowl, thoroughly whisk together the all-purpose flour, granulated sugar, baking powder, and a pinch of salt. This ensures even distribution of the leavening agent and seasoning.
Grate the Butter: Using a cheese grater, grate the very cold (preferably frozen for 10-15 minutes) salted butter directly into the flour mixture. Grating helps create tiny, even pieces of butter, which are crucial for a flaky, tender biscuit.
Incorporate the Butter: Gently mix the grated butter into the flour mixture. You can use a fork, a pastry blender, or even your fingertips. Work quickly to prevent the butter from warming too much. The mixture should resemble coarse crumbs.
Prepare Liquid Mixture: In a separate small bowl or measuring cup, whisk together the heavy cream (or milk/buttermilk) and vanilla extract.
Combine Wet and Dry: Pour the cream mixture over the flour and butter mixture. Stir gently with a spoon or spatula *just until combined*. Be careful not to overmix, as this can lead to tough biscuits. A few streaks of flour are perfectly acceptable.
Assembling and Baking Your Berry Cobbler
Now that your filling and topping are ready, it’s time to bring them together for baking. This is where the magic truly happens!
Prepare the Berry Filling: In a large bowl, combine the mixed berries (fresh or frozen), granulated sugar, lemon zest, and cornstarch. Toss gently until all the berries are evenly coated. The cornstarch is vital for thickening the juices as they cook, creating a luscious filling.
Transfer to Baking Dish: Pour the coated berry mixture into your prepared 9×13 inch baking dish. Ensure it’s lightly sprayed with nonstick cooking spray to prevent sticking. Spread the berries evenly across the bottom.
Add the Biscuit Topping: Using a cookie scoop or a large spoon, dollop portions of the biscuit dough mixture over the berry filling. Gently flatten each dollop slightly with your hands or the back of a spoon. Aim to mostly cover the berries, but it’s perfectly fine and visually appealing if some of the colorful fruit peeks through.
Brush and Sprinkle (Optional but Recommended): For an extra golden crust and a touch of sweetness and crunch, brush the tops of the biscuit dollops with a little heavy whipping cream or milk. Then, sprinkle generously with sanding sugar (or turbinado sugar/granulated sugar).
Bake to Golden Perfection: Place the baking dish in your preheated oven (350°F or 175°C). Bake for approximately 40 to 50 minutes, or until the berry filling is visibly bubbling around the edges and the biscuit topping has turned a beautiful golden brown and is cooked through. If you notice the topping browning too quickly, loosely tent the cobbler with aluminum foil for the remaining baking time.
Cool Before Serving: Once baked, carefully remove the cobbler from the oven and transfer the pan to a wire rack. Allow it to cool for at least 10-15 minutes before serving. This crucial resting period allows the cornstarch to fully activate and thicken the filling, ensuring it’s less runny and holds its shape better.
Your delicious Berry Cobbler is ready to enjoy! Serve it warm for the ultimate comfort experience, or at room temperature. It’s truly heavenly with a dollop of homemade whipped cream or a scoop of velvety vanilla ice cream.
Storage and Make-Ahead Tips for Your Berry Cobbler
This Berry Cobbler is not only delicious fresh from the oven but also wonderfully adaptable for making ahead or enjoying later. Here’s everything you need to know about storing and preparing it in advance:
Making Ahead: If you’re planning for an event or simply want to save time, you can prepare both the berry filling and the biscuit topping separately up to 24 hours before baking. Keep the berry mixture covered in the baking dish in the refrigerator. Store the uncooked biscuit dough in an airtight container or covered bowl in the fridge. When ready to bake, simply assemble as directed and add a few extra minutes to the baking time if the ingredients are very cold.
Storing Leftovers: Should you be fortunate enough to have any leftover cobbler, allow it to cool completely to room temperature. Then, transfer it to an airtight container or cover the baking dish tightly with plastic wrap or aluminum foil. Store in the refrigerator for up to 4 days, ensuring its freshness and flavor.
Reheating Instructions:
Oven: For the best texture, reheat leftover cobbler in the oven. Preheat your oven to 325°F (160°C). Place the cobbler (covered loosely with foil if reheating a whole dish to prevent further browning) in the oven for about 20-25 minutes, or until warmed through and the topping is crisp again.
Microwave: For individual portions, the microwave is a convenient option. Heat servings for approximately 30-60 seconds on high power, or until hot. Be aware that the topping may lose some of its crispness in the microwave.
Freezing Fully Baked Cobbler: This cobbler freezes beautifully! Once baked, allow it to cool completely. For best results, wrap the entire cobbler (or individual portions) tightly in several layers of plastic wrap, followed by a layer of aluminum foil. Freeze for up to 2 months.
Thawing and Reheating Frozen Cobbler: To enjoy your frozen cobbler, transfer it to the refrigerator and let it thaw overnight. Once thawed, reheat in the oven at 325°F (160°C) until warmed through, usually around 25-35 minutes, or longer for a full cobbler.
Variations and Creative Twists to Elevate Your Cobbler
While this classic Berry Cobbler is perfect as is, it’s also wonderfully adaptable! Feel free to get creative and customize it to your taste or what’s available. Here are some delightful variations to try:
Warm Spices: Infuse your berry filling with a pinch of warming spices like cinnamon, nutmeg, or even a touch of ground ginger. These spices beautifully complement the fruit flavors, especially during cooler months.
Fruit Swaps and Combinations: Don’t limit yourself to just berries! This recipe works incredibly well with other fruits. Try swapping in fresh peaches, tart cherries, sliced apples, or a mix of stone fruits for some or all of the berries. Adjust sugar levels slightly based on the sweetness of your chosen fruit.
Make it Gluten-Free: For those with dietary restrictions, simply substitute a high-quality 1:1 gluten-free all-purpose flour blend for the regular all-purpose flour in the biscuit topping. Ensure your chosen blend contains xanthan gum for structure.
Individual Servings: For elegant entertaining or portion control, bake the cobbler in individual ramekins or even muffin tins. Adjust baking time accordingly; smaller portions will cook faster. This makes serving a breeze!
Speedy Shortcut with Pie Filling: If you’re short on time or ingredients, you can make this easy berry cobbler recipe even easier by using a couple of cans of good quality berry pie filling instead of making your own. Just pour it into the baking dish and top with the biscuits as usual.
Citrus Zest Experimentation: Beyond lemon, try adding orange or lime zest to the filling for a different bright, aromatic note that can enhance the berry flavors.
Nutty Topping: Fold some finely chopped nuts like pecans or walnuts into your biscuit topping mixture for an added layer of flavor and crunch.
Serving Suggestions: What to Pair with Your Mixed Berry Cobbler
This mixed berry cobbler is an absolute delight on its own, a true testament to simple, comforting flavors. However, it also serves as a fantastic base for complementary toppings and pairings that elevate the experience even further. Here are a few options that you’ll undoubtedly love:
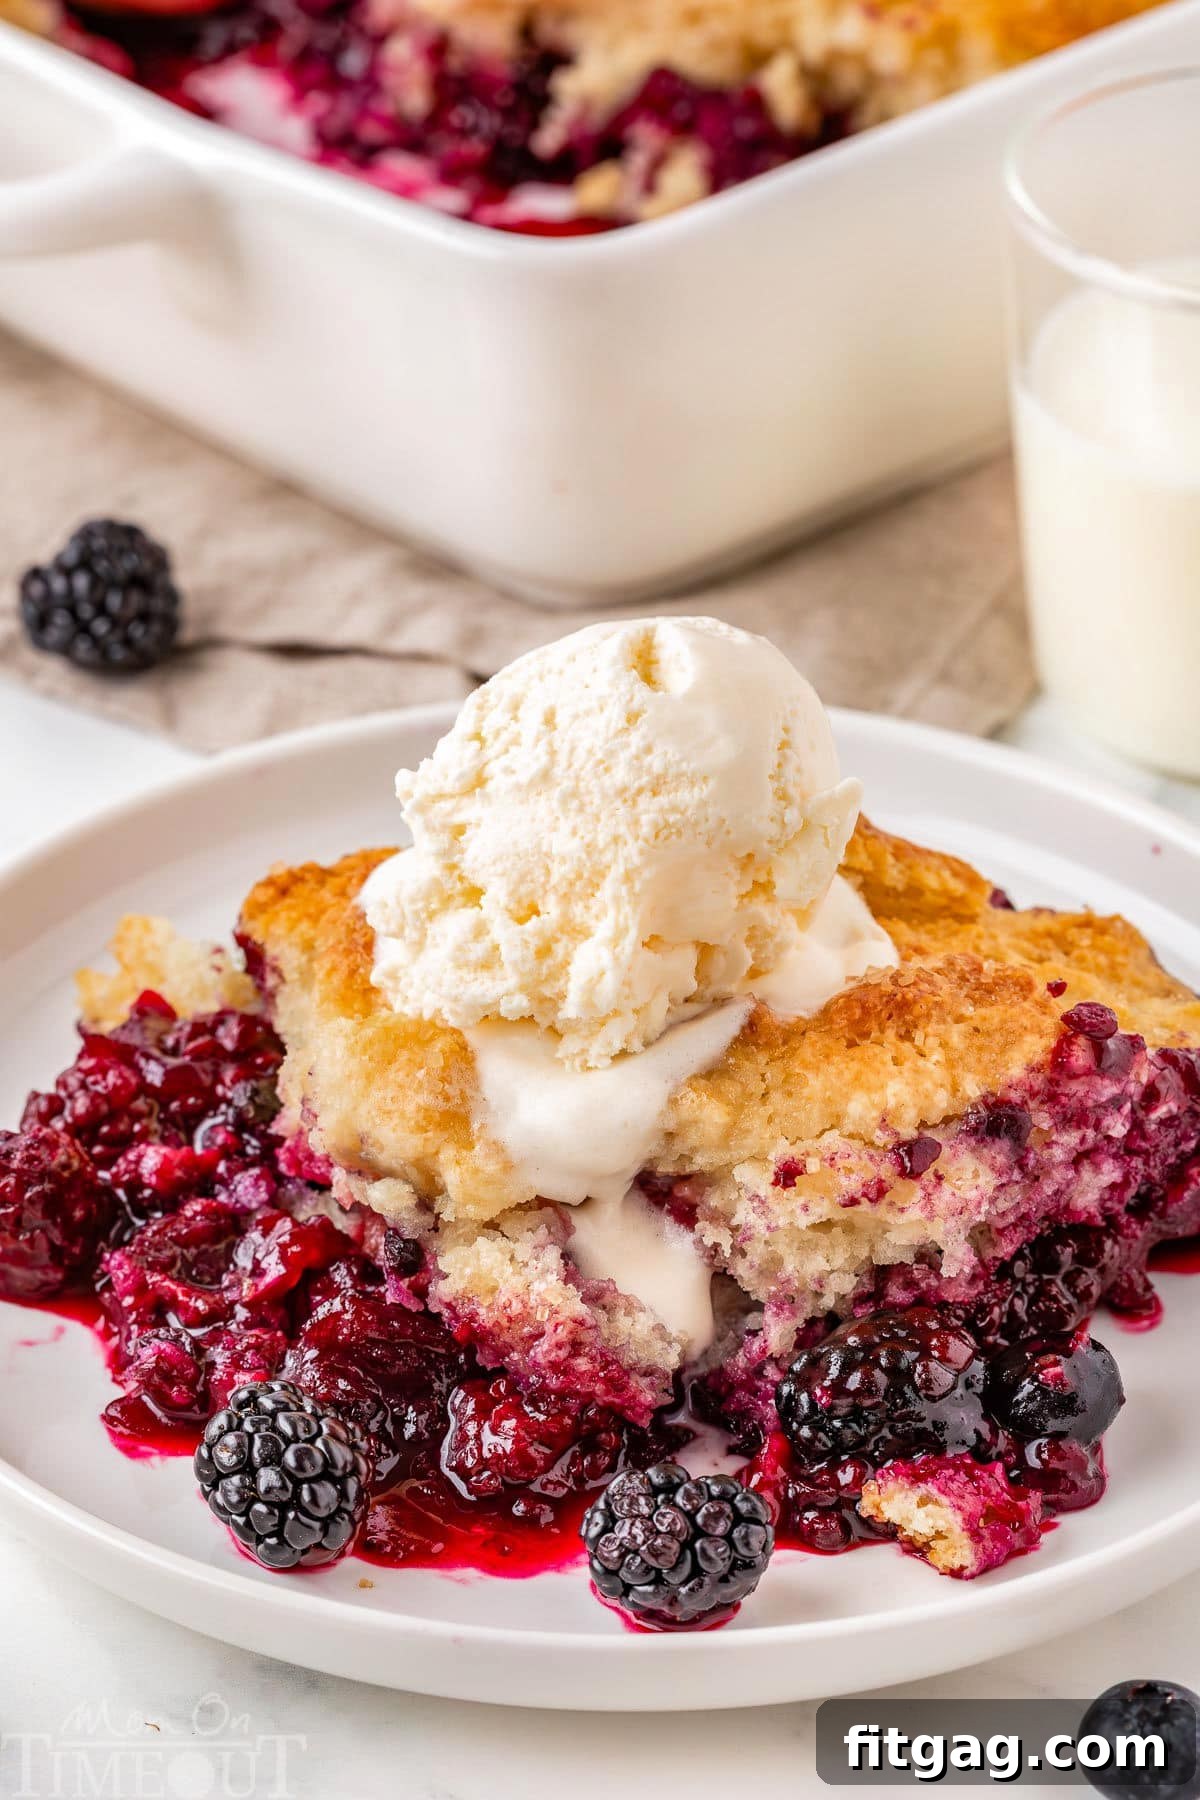
Vanilla Ice Cream: This is arguably the most classic and beloved pairing. A generous scoop of cold, creamy vanilla ice cream melting into the warm, bubbling cobbler creates an irresistible hot-and-cold sensation. The cool sweetness of the ice cream perfectly complements the tart and juicy berries.
Homemade Whipped Cream: For a lighter, airy indulgence, top your cobbler with a dollop of fresh whipped cream. Whether you whip it yourself with a hint of vanilla or use a ready-made option, its creamy texture and subtle sweetness provide a wonderful contrast to the slightly tangy berries.
Fresh Mint Leaves: For an elegant touch and a burst of refreshing aroma, garnish your berry cobbler with a few fresh mint leaves. This simple addition adds a sophisticated finish, making your homemade dessert look and feel like a restaurant-worthy treat.
A Dusting of Confectioners’ Sugar: A light dusting of powdered sugar (confectioners’ sugar) can add a delicate sweetness and a beautiful visual appeal, especially when serving the cobbler without other toppings.
Greek Yogurt: For a slightly healthier and tangy option, a spoonful of plain Greek yogurt can be a surprisingly delicious accompaniment, adding a creamy texture and a pleasant tartness that cuts through the sweetness.
Troubleshooting: Why is My Cobbler Filling Runny?
It’s common for cobblers to have a slightly looser filling, especially when they are fresh out of the oven. The fruit juices are still very hot and haven’t had a chance to fully set. The good news is that the filling will naturally thicken significantly as the cobbler cools. The cornstarch (or flour) used in the recipe requires some time to gel and achieve its full thickening potential.
To ensure a thicker filling, here are a few considerations:
Allow Adequate Cooling Time: This is the most crucial step! Resist the urge to dive in immediately. Letting the cobbler cool for at least 10-15 minutes (or even longer if you prefer a very thick filling) after it comes out of the oven allows the cornstarch to properly thicken the juices. The longer it sits, the more it will firm up.
Consider More Thickener: If you consistently find your cobbler too runny for your preference, you can increase the amount of cornstarch (or flour) in the recipe. Add an additional teaspoon of cornstarch to the berry mixture during preparation. Start with one extra teaspoon and adjust in future batches if needed.
Frozen vs. Fresh Berries: Frozen berries tend to release more liquid as they thaw and cook compared to fresh berries. If using frozen berries, ensure they are thoroughly coated with the cornstarch mixture, and don’t be afraid to add that extra teaspoon of thickener if you know your frozen fruit is particularly juicy.
Even Baking: Ensure your cobbler is baked through. The bubbling of the filling indicates that it has reached a high enough temperature for the thickener to activate. If it’s not bubbling, it might not have cooked long enough.
Trish’s Expert Tips for Cobbler Success
This recipe is designed for simplicity and speed, but a few insider tips can elevate your Berry Cobbler from delicious to absolutely extraordinary every single time. Pay attention to these details for perfect results:
Freeze the Butter for Superior Flakiness: For the most tender and flaky biscuit topping, make sure your butter is extremely cold, ideally frozen for at least 10-15 minutes, before grating it into the flour mixture. Cold butter creates small pockets within the dough. As these pockets melt during baking, they release steam, which is what gives biscuits their characteristic flaky layers and incredibly tender texture.
Keep Liquids Chilled for Fluffiest Topping: Just like the butter, use very cold heavy cream or milk when mixing the biscuit topping. Maintaining a cold temperature throughout the dough preparation prevents the butter from melting prematurely, further contributing to that desired light and fluffy texture in your biscuits.
Don’t Skip the Cream and Sugar Topping: While technically optional, brushing the biscuit topping with a little extra cream and sprinkling it with sanding sugar before baking is highly recommended. This step creates a beautifully golden-brown crust, adds an appealing sparkle, and imparts a delightful, subtle crunch that takes this easy cobbler recipe over the top in terms of both appearance and texture.
Prevent Over-Browning with Foil: Keep an eye on your cobbler during the last stages of baking. If the biscuit topping starts to get too dark or brown before the filling is fully cooked and bubbling, simply tent the cobbler loosely with aluminum foil. This protects the topping from further browning while allowing the fruit filling to finish baking properly.
The Golden Rule: Let it Cool! It can be tempting to serve your cobbler immediately, but patience is a virtue here. Make sure you let the cobbler cool for at least 10-15 minutes after removing it from the oven. Even though it will still be wonderfully warm, this crucial resting time allows the cornstarch in the filling to fully set and thicken, resulting in a luscious, less runny consistency.
Prepare Ahead for Convenience: This cobbler is fantastic served warm, but it’s also perfectly delicious at room temperature. This makes it an excellent candidate for making ahead, especially when entertaining. Bake it a few hours in advance, let it cool, and serve when you’re ready!
Master Proper Flour Measurement: Accurate flour measurement is key to a perfectly textured biscuit. If you don’t have a kitchen scale, avoid scooping flour directly from the bag, which can compact it. Instead, use a spoon to fluff the flour in its container, then gently spoon the flour into your measuring cup. Level the top with the flat back of a butter knife for a precise measurement.
More Delicious Berry Desserts to Love
If you’re a fan of the vibrant flavors of berries, you’re in for a treat! Here are more fantastic berry-infused dessert recipes that are sure to become new favorites:
No Bake Berry Cheesecake: A light, creamy, and refreshing dessert perfect for warmer weather, packed with fresh berry goodness.
Mini Strawberry Pies: Adorable, individual pies bursting with sweet strawberries, ideal for parties or personal indulgence.
Blackberry Turnovers: Flaky pastry pockets filled with a sweet and tart blackberry filling – a delightful breakfast or dessert.
Lemon Blueberry Scones: Tender scones infused with bright lemon and juicy blueberries, perfect for tea time or brunch.
Strawberry Tiramisu: A fruity twist on the classic Italian dessert, featuring layers of ladyfingers, creamy mascarpone, and fresh strawberries.
Print
Pin
Berry Cobbler Recipe
Ingredients
Filling
2 pounds berries fresh or frozen, mixed
¾ cup granulated sugar
3 tablespoons cornstarch
1 tablespoon lemon zest about 1 lemon
2 tablespoons lemon juice fresh squeezed, about 1 lemon
Topping
2 cups all-purpose flour spooned and leveled
½ cup granulated sugar
1 tablespoon baking powder
½ teaspoon fine sea salt
½ cup salted butter frozen for 10 or more minutes
1 cup heavy cream whole milk or buttermilk can be substituted
1 teaspoon vanilla extract
Assembly
2 tablespoons heavy cream milk can be substituted
2 tablespoons sanding sugar or turbinado sugar or granulated sugar
Optional Garnishes:
fresh berries
mint leaves
vanilla ice cream
whipped cream
Instructions
Filling
Topping
Assembly
Notes
Recommended Tools & Equipment (affiliate links): 9×13 Baking Dish | Glass Mixing Bowls | Whisk | Silicone Spatula | Lemon Zester | Lemon Juicer | Disposable 9×13 Baking Tray (for freezing)
Nutrition
The post Sweet Berry Indulgence first appeared on Fitgag.