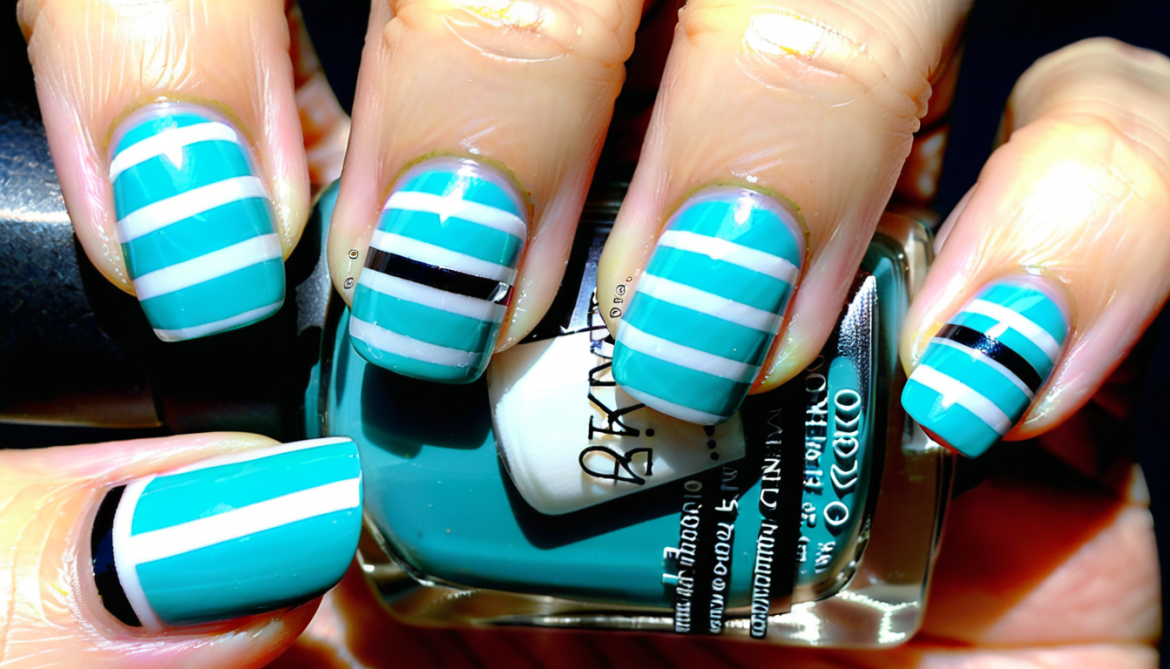
Simple Striping Tape Nail Art: 5 Steps to Effortlessly Chic Nails You’ll Love
Nail art can feel intimidating—let’s face it, not all of us have steady hands or the patience for intricate designs. But what if we told you that you could create a professional-looking nail art design in just a few minutes using one simple tool? Striping tape might just be the game-changer your nail routine has been missing. Ready to dive into the world of bold, geometric lines that will make your nails pop? Let’s talk about how to master Simple Striping Tape Nail Art and wow your friends with stunning designs.
Have You Ever Felt Like Your Nails Could Use a Little Something Extra?
If you’re a nail art lover, you’ve probably felt the itch to try something new but hesitated because it looked too complicated. But what if I told you that simple, clean lines could give your nails an ultra-modern twist with minimal effort? The good news is that Simple Striping Tape Nail Art is your shortcut to elegant and edgy nails without the complexity. Stick with me, and I’ll show you just how easy it can be!
What You Need to Get Started
Before you start getting creative, let’s grab all the essentials. You don’t need a bunch of fancy tools, just these simple items:
Striping tape – This is the star of the show. You can find it online or at beauty stores, and it comes in various colors and widths.
Base coat – A must for a smooth, even surface.
Nail polish colors – Pick your favorite shades! Bold or pastel, the choice is yours.
Top coat – For that glossy, long-lasting finish.
Tweezers or a nail art tool – To help place the tape precisely.
Pro Tip: Don’t skip the base coat! It’s your nail’s best friend and helps your polish last longer. Plus, it keeps your design looking flawless.
Why Striping Tape is a Game-Changer
You might wonder, “Why should I bother with striping tape when I can just freehand it?” Well, here’s the deal: striping tape makes perfect, straight lines easy. No wobbly edges or smudging. It’s like having a built-in ruler for your nails, and trust me, it’s a total time-saver.
Don’t stress over perfection; the tape does the heavy lifting. Ready to see how it’s done?
Step-by-Step: How to Nail Simple Striping Tape Nail Art
Get ready to master the art of clean, bold lines with this simple guide to striping tape nail art—no professional skills required!
Step 1: Prep Your Nails
Start with clean, dry nails. Apply a base coat to keep your nails protected and your design intact. Let it dry for a few minutes.
Step 2: Apply Your Base Color
This is where you get to have fun! Pick your favorite polish color and apply it evenly to each nail. It’s okay if you need two coats for full coverage. Let each coat dry completely before moving on.
Step 3: Place the Striping Tape
Here’s the magic part. Once your base color is dry, cut small strips of the striping tape and place them on your nails. You can create geometric patterns, stripes, or even a chic diagonal look—whatever suits your style. Use tweezers to make the tape placement precise.
Pro Tip: If you’re a beginner, start with simple horizontal lines. Once you get the hang of it, feel free to get more creative!
Step 4: Apply Your Top Coat
Carefully paint over the tape with a contrasting color or even a glitter polish to really make the lines pop. Let it dry for a few minutes, then peel off the tape slowly to reveal crisp, clean lines.
Step 5: Seal with a Top Coat
Finish off the design with a shiny top coat to lock in your art and give it that polished, professional look.
Quick Tip: Make sure your polish is fully dry before peeling off the tape—this helps avoid smudging or pulling up the base color.
Why Simple Striping Tape Nail Art Is a Must-Try
This nail art trend isn’t just trendy—it’s timeless. The clean lines, the bold contrasts, and the versatility of designs make Simple Striping Tape Nail Art a go-to for any occasion. Whether you’re gearing up for a fancy event or just want to add a little pizzazz to your daily look, this design checks all the boxes. Plus, it’s easy enough for beginners but sophisticated enough for experienced artists to play around with!
Don’t Let These Myths Hold You Back
Think Simple Striping Tape Nail Art is too complicated? Think again! The biggest myth is that you need perfect precision for this design to work, but trust me, the tape does the heavy lifting. A little imperfection adds to the charm!
And if you think striping tape is just for professional nail artists, I’ve got news for you. This design is for everyone—whether you’re a DIY newbie or a seasoned pro.
Ready to Try It?
If you’re feeling inspired to create your own Simple Striping Tape Nail Art, grab your supplies and start experimenting. The beauty of this design is its versatility—you can change up the colors, patterns, and finishes to suit any season or mood.
Want to take it a step further? Try using metallic or neon tapes for a bold twist, or experiment with matte and glossy finishes to add contrast.
Why You’ll Love It
So, what’s the ultimate takeaway? Simple Striping Tape Nail Art is easy, chic, and totally customizable. It’s perfect for any skill level, whether you’re just starting out or are a nail art pro looking for a quick but striking design.
Are you ready to try it out? Which color combo will you choose first?
