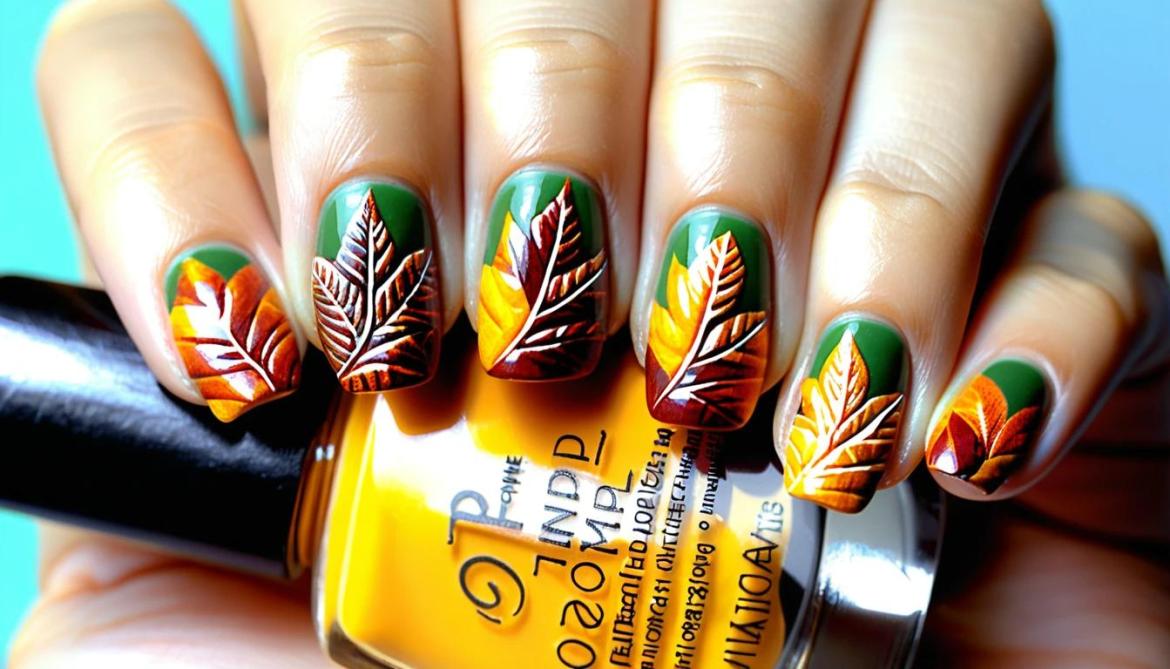
Nail This! Autumn Leaves Stamped Nail Art That Screams Fall Vibes
Picture this: the crisp fall air, golden leaves swirling around you, and the perfect autumn outfit. Now, imagine those autumn vibes captured right at your fingertips with Autumn Leaves Stamped Nail Art. Yes, you can wear the season’s beauty on your nails, and here’s how.
Ready to Turn Your Nails into Fall Perfection?
If you’re obsessed with all things autumn, you’ve probably noticed how the season’s colors pop—deep reds, warm oranges, and golden yellows. So, why not bring those hues to your nails? Autumn Leaves Stamped Nail Art is not just a nail trend; it’s a way to wear the spirit of fall every day. Whether you’re a seasoned nail artist or a beginner, this design is easy to master and gives you a professional, polished look.
What is Autumn Leaves Stamped Nail Art?
Imagine perfectly detailed, delicate leaves gently falling from your nails, as if the autumn breeze itself had painted them there. That’s the magic of Autumn Leaves Stamped Nail Art. It’s a design that uses stamping techniques to transfer leaf patterns onto your nails, creating intricate, nature-inspired art that’s as elegant as it is fun.
What You Need to Get Started
Before you dive into this nail art project, make sure you’ve got the right tools on hand. Here’s your essential kit:
Nail Polish: A mix of fall-inspired shades—think deep browns, golds, oranges, and dark greens.
Stamping Plate: A plate with leaf designs (you can find these online or in specialty beauty shops).
Stamping Tool: A rubber stamper that picks up and transfers the design.
Scraper: To remove excess polish from the stamping plate.
Top Coat: To seal in the design and give it a glossy finish.
Base Coat: Always start with a protective layer to keep your nails safe.
Step-by-Step Guide to Creating Autumn Leaves Stamped Nail Art
Ready to transform your nails into a fall masterpiece? Follow these easy steps for a flawless autumn leaves design that will have everyone asking where you got your nails done!
Prep Your Nails
Start with clean, dry nails. Apply a base coat to protect your nails from staining and to ensure the design lasts longer. It’s the crucial first step to a flawless finish.
Apply Your Base Color
For a classic fall vibe, choose a rich autumn shade—think of deep reds, burnt oranges, or even a soft, creamy beige. Two coats should do the trick for a smooth base.
Pick Your Stamping Plate
Now for the fun part! Choose a stamping plate with intricate leaf designs. You can go for large, bold leaves or tiny, delicate ones—whichever suits your mood.
Pick Up the Design
With your stamping tool, apply a thick layer of polish to the plate. Use the scraper to remove excess polish, then quickly roll your stamper over the design. Be sure to press down firmly to pick up the full image.
Stamp on Your Nails
Roll the stamper onto your nail in one smooth motion. Try to press it evenly to avoid streaks or uneven prints. It might take a little practice to get the perfect stamp, but don’t worry—you’ll get it!
Top It Off
Once your leaf design is stamped, finish off with a top coat. This seals in the design and prevents smudging, giving your nails that perfect glossy finish.
Clean Up
Use a small brush dipped in nail polish remover to clean up any excess around your cuticles. This step makes your nails look professionally done, leaving you with sharp, crisp edges.
My Autumn Leaf Adventure
I first tried Autumn Leaves Stamped Nail Art during a crisp October weekend, as I was longing to celebrate the season in a more personal way. Let me tell you—it was easier than I expected! The stamping tool made it simple to create a stunning look, and the result was so beautiful that my friends couldn’t stop complimenting my nails. The best part? It felt like wearing fall itself—right on my fingertips!
Why You Should Try Autumn Leaves Stamped Nail Art
It’s not just about the design; it’s about embracing the season and making it your own. Whether you’re a nail art newbie or a seasoned pro, this design is approachable, customizable, and perfect for all skill levels.
Quick and Easy: This design can be done in under an hour—perfect for busy autumn days.
Versatile: Play with different color combinations to match your fall outfits.
Long-lasting: Thanks to the stamping technique and top coat, your design will last for days without chipping.
Fall Nail Art Trends to Keep an Eye On
Autumn Leaves Stamped Nail Art isn’t the only fall trend that’s making waves. Here are a few other designs that you can try:
Matte Autumn Nails: Combine autumn colors with a matte top coat for a chic, understated look.
Pumpkin Spice Nails: Yes, you can make your nails as spicy as your favorite seasonal drink.
Metallic Fall Nails: Add a little shimmer with gold or copper metallic accents to your fall designs.
Myth-Busting: Is Stamping Difficult?
You might think stamping sounds tricky, but it’s easier than you think. One common myth is that it requires precision. While getting the technique right takes a little practice, you don’t need to be a pro to achieve gorgeous results. Start slow, and with a little patience, you’ll be a stamping expert in no time!
Autumn Leaves at Your Fingertips
So, are you ready to create your own stunning Autumn Leaves Stamped Nail Art? Whether you’re heading to a fall festival, enjoying a cozy coffee date, or simply embracing the season, this nail art will make sure your nails are as on point as your fall wardrobe. Give it a try, and let your nails tell the story of autumn!
What’s your favorite fall-inspired nail art? Let me know in the comments below, and let’s chat about how you bring the season to life on your nails!
