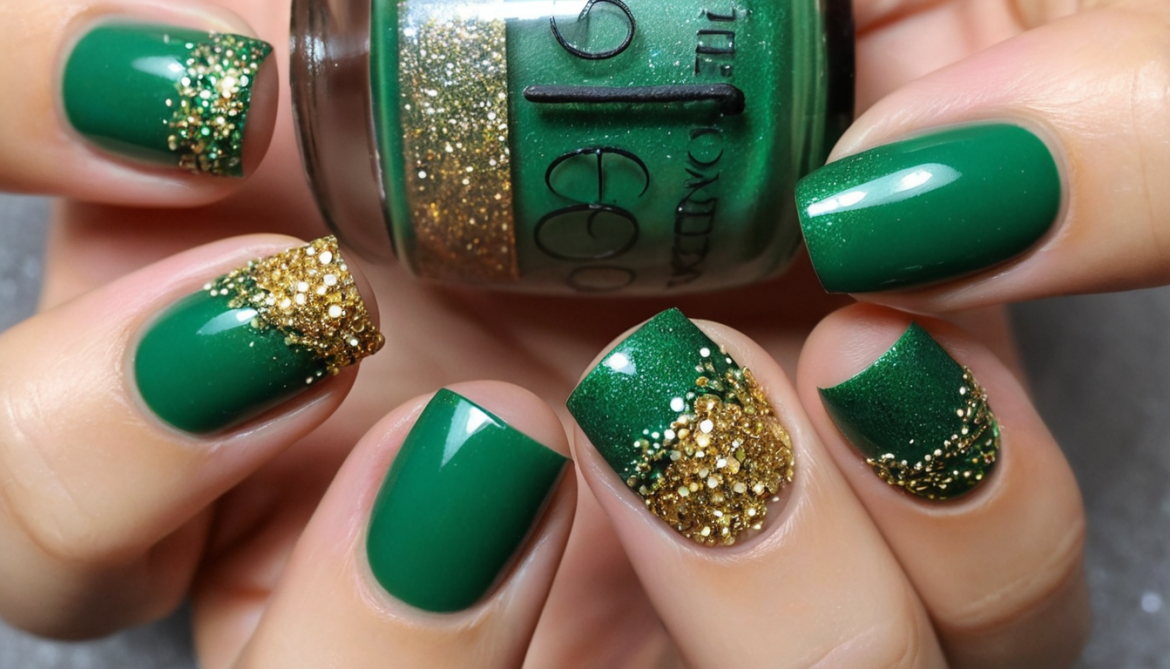
You Won’t Believe How Easy It Is to Create These Stunning Green and Gold Glitter Dots Nails!
Ever feel like your nails could use a touch of magic? You’re not alone! Nail art is one of the easiest ways to add personality to your look. And if you’re craving something that’s equal parts glamorous and playful, meet your next obsession: Green and Gold Glitter Dots.
Let’s dive into the how, why, and wow of this dazzling design!
What Makes Green and Gold Glitter Dots So Special?
Imagine your nails as a canvas, and this design as a starry night lit with bursts of gold. Green and gold are a timeless pairing, evoking the lush opulence of emeralds and treasure chests. Adding glitter dots creates a playful yet elegant vibe that works for every occasion, from holiday parties to brunch with friends.
Why you’ll love it:
It’s beginner-friendly but looks pro-level.
Glitter dots catch the light, adding a touch of sparkle to your day.
It’s versatile—customize it with any shade of green or gold glitter size.
Got 30 Minutes? Here’s What You’ll Need
Before you start, gather your tools. Having everything ready means you can enjoy the process without scrambling for supplies mid-polish.
Must-haves:
Base coat (to protect your natural nails)
Green nail polish (choose your perfect shade, from forest green to mint)
Gold glitter polish or loose glitter
Dotting tool (or a bobby pin if you’re improvising)
Top coat (to seal and protect your masterpiece)
Nail polish remover (for quick cleanup)
Cotton swabs or small brushes (to tidy up edges)
Step-by-Step: Create the Look in Minutes
Follow this guide for flawless results. Trust me, if you can dot an “i,” you can master this design.
Step 1: Prep Like a Pro
Start with clean, shaped nails. Apply a thin layer of base coat to prevent staining and ensure your polish lasts longer.
Pro Tip: Buff your nails lightly before applying the base coat for a smoother surface.
Step 2: Paint the Base
Apply two coats of your chosen green polish. Let each coat dry for at least two minutes to avoid smudging.
Step 3: Add Glitter Dots
Here’s the fun part! Dip your dotting tool or bobby pin into gold glitter polish. Gently press it onto your nails to create random dots. Want extra sparkle? Layer larger glitter pieces on top.
Hack: Use a toothpick for smaller dots and a cotton swab for larger ones, creating dimension.
Step 4: Seal the Deal
Once your dots are dry, finish with a generous layer of top coat. This not only locks in the design but also gives your nails that salon-shiny finish.
Pro Tips for Nail Art Success
Want to nail it every time? These pro tips will take your Green and Gold Glitter Dots design from great to jaw-dropping!
1. Avoid smudging: Give your nails extra drying time between steps.
2. Long-lasting glitter: Press loose glitter into semi-dry polish instead of just layering glitter polish.
3. Clean edges like a boss: Dip a small brush into nail polish remover to tidy up the edges.
Why Green and Gold Glitter Dots Are Trending
This design is everywhere—from Instagram feeds to celebrity red carpets. Why? It’s versatile and perfectly in line with 2024’s metallic and nature-inspired nail trends.
Seasonal spin:
Add more gold for a festive holiday look.
Pair with pastel green for a spring-ready vibe.
Myth-Busting: Is Glitter Nail Art Messy?
Not if you follow these steps! By using dotting tools and being strategic with your glitter placement, you’ll avoid chaos.
Bonus: Glitter dots are much easier to remove than full-on glitter polish!
Why You Should Try This Look Now
Nail art isn’t just a trend—it’s a confidence booster. With Green and Gold Glitter Dots, you’ll turn heads and spark conversations. Whether you’re a nail novice or a seasoned artist, this design promises a fun, satisfying experience.
What’s stopping you? Gather your tools, let your creativity shine, and show off your dazzling new look!
Have you tried this design or something similar? Share your nail art stories in the comments—we’d love to hear from you!
